

I recently made what can only be described as a rookie mistake: I was unknowingly shooting in JPG.
On the last day of a photo tour in Finland, we passed a swamp with a dark river winding through it. A perfect spot for drone photos. However, the SD card was acting up, so I set the images to save directly to the controller instead. I didn’t think much of it as I was too excited about the photos I was capturing.
Back at the computer, I saw that every photo had been saved as a JPG. Nothing was saved in RAW.
That brought up a question I’ve been asked many times: how much detail can you recover from a JPG? Can you still save the image? Can I edit it in my normal style? Can it be printed?
So I tested it.
In this article, I follow that one file from the moment I opened it to the finished print. I’ll cover what was actually in the file, how I processed it, whether Lightroom’s Super Resolution helped, and how big I could print before the quality fell apart.
The short answer
A JPG can be “saved” as long as it was captured at high quality and nothing important is clipped. Expect about one to two stops of exposure correction and moderate color changes before banding and muddy colors start to appear. You don’t lose resolution by shooting JPG. What you lose is the tonal information that lets you push an edit.
As for printing, this image printed best at A3. At that size, the details held up, while at 40 × 60 cm they became soft and muddy.
Why a JPG has less to give than a RAW file
Before we look at the image itself, let’s briefly cover one important thing: why you should shoot in RAW instead of JPG.
A RAW file is closer to what the sensor recorded than to a finished photo, while a JPG is a photo the camera has already developed for you. Every choice the camera made during that development is baked into the pixels. Three of those decisions matter most when you try to edit afterward:
Bit depth. A JPG stores 8 bits per color channel, which gives 256 levels of brightness from black to white. A RAW file typically records 12 or 14 bits, which is 4,096 or 16,384 levels. When you brighten a dark JPG, those 256 steps get stretched further apart. In textured areas like grass, you’ll never notice. In smooth areas like water or sky, the steps can become visible as bands.
White balance and color. In a RAW file, white balance is a setting you can change freely. In a JPG, the camera has already mixed the colors. You can still shift the white balance in Lightroom, but you’re moving colors that are already fixed rather than choosing how to interpret the sensor data. That’s why big corrections tend to look muddy.

Compression and in-camera processing. A JPG is compressed by throwing away information the eye is unlikely to miss. Before that, the camera has also applied its own contrast curve, sharpening, and noise reduction. None of that can be undone.
This is also why tools built for RAW files can’t help a JPG. I use DxO PureRAW on most of my images, but it works on the raw sensor data. A JPG has no raw data left, so PureRAW simply won’t open it. Saving the JPG as a DNG doesn’t change that either. The file gets a new container, but the information inside is still the same 8-bit image.
The JPG file I was working with
With the factors above in mind, a JPG is much more limited for editing. There’s far less information to work with, and adjustments to white balance, color, and exposure can quickly lead to banding or a muddy look.
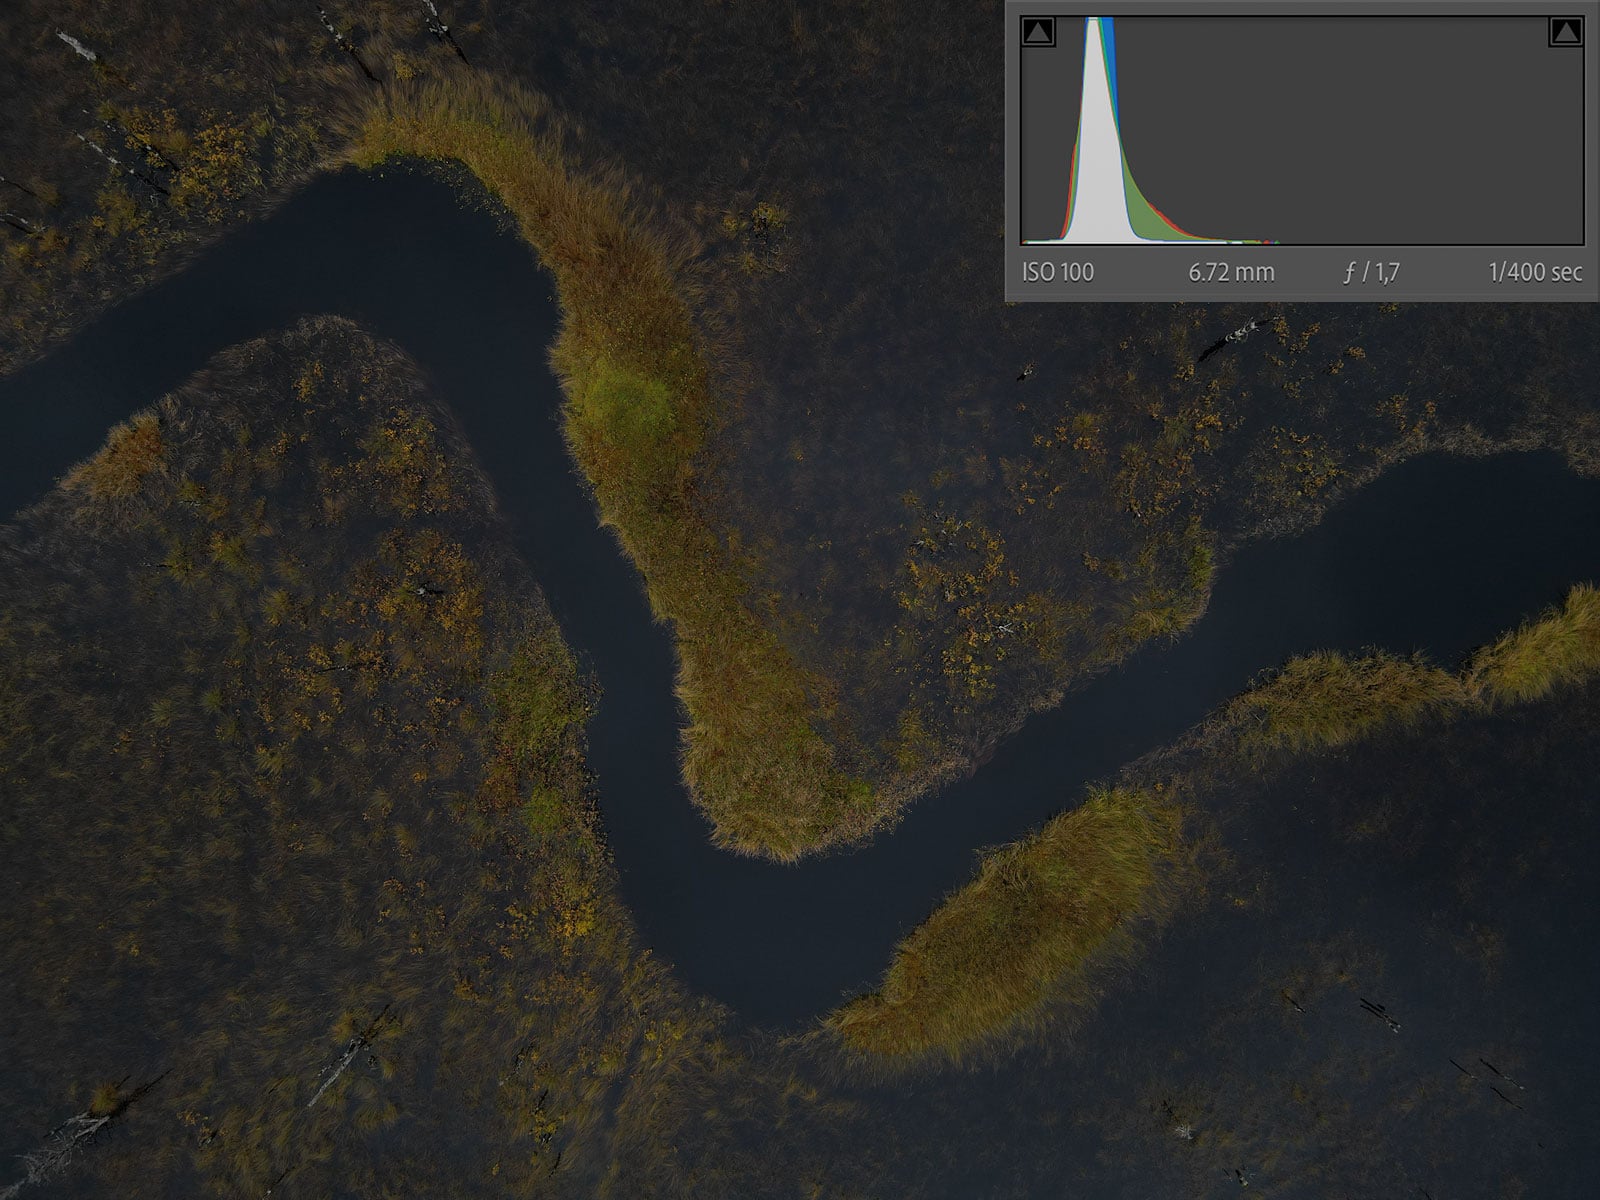
For this particular image, two things worked in my favor. The DJI Mini 3 Pro saves its JPGs at a high-quality setting, so compression artifacts weren’t a real concern. More importantly, nothing was clipped. It’s a top-down drone shot with little dynamic range. A file with, for example, a bright sky and a dark foreground would have been much harder to work with.
That being said, I tend to underexpose my images in camera, and this time I went a little too far. I shot the photo at -2.3 EV (12 MP, 1/400 s, f/1.7, ISO 100), and most of the pixels sat in the darkest quarter of the tonal range. Recovering more than two stops is no problem with a RAW file, but it’s right on the border of what you can comfortably do with a JPG.
Editing the JPG in Lightroom
The principle I followed was simple: make every adjustment as gently as possible, and spread the work across several tools instead of pushing one slider hard. With a RAW file, you can get away with a heavy-handed edit. With a JPG, every big move costs you tonal information.
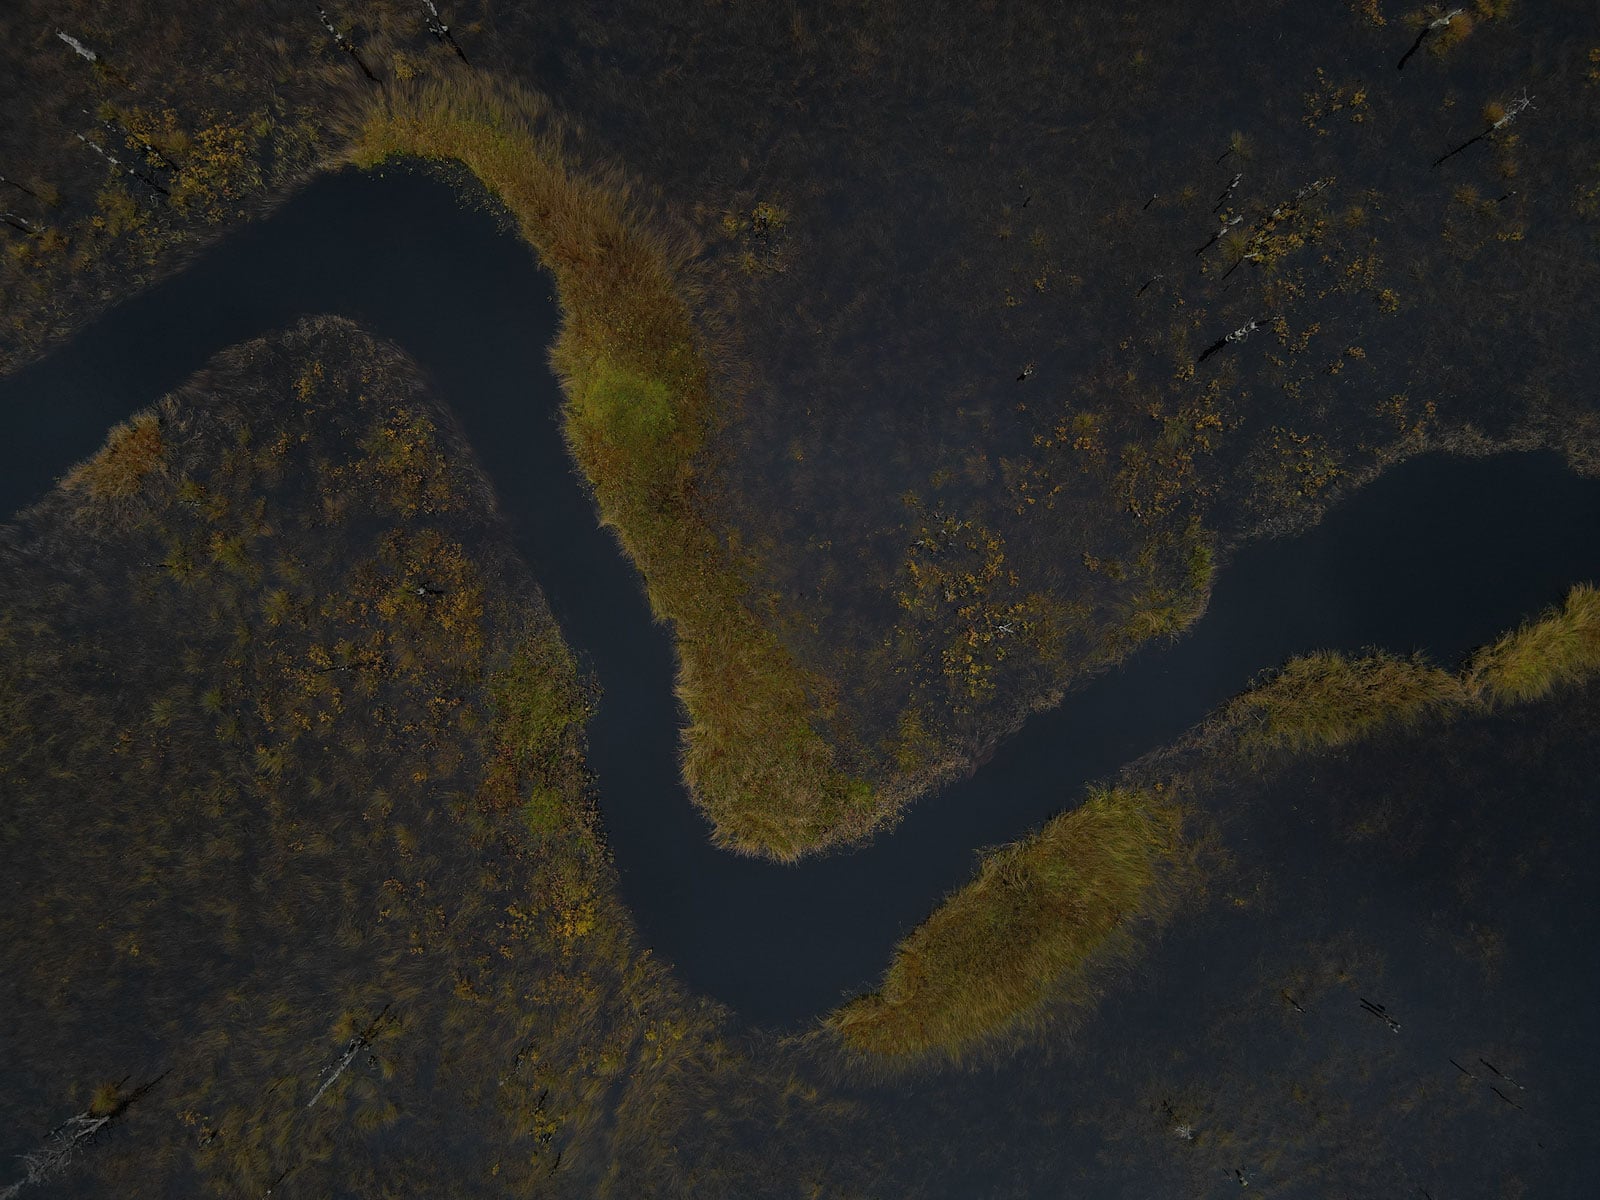
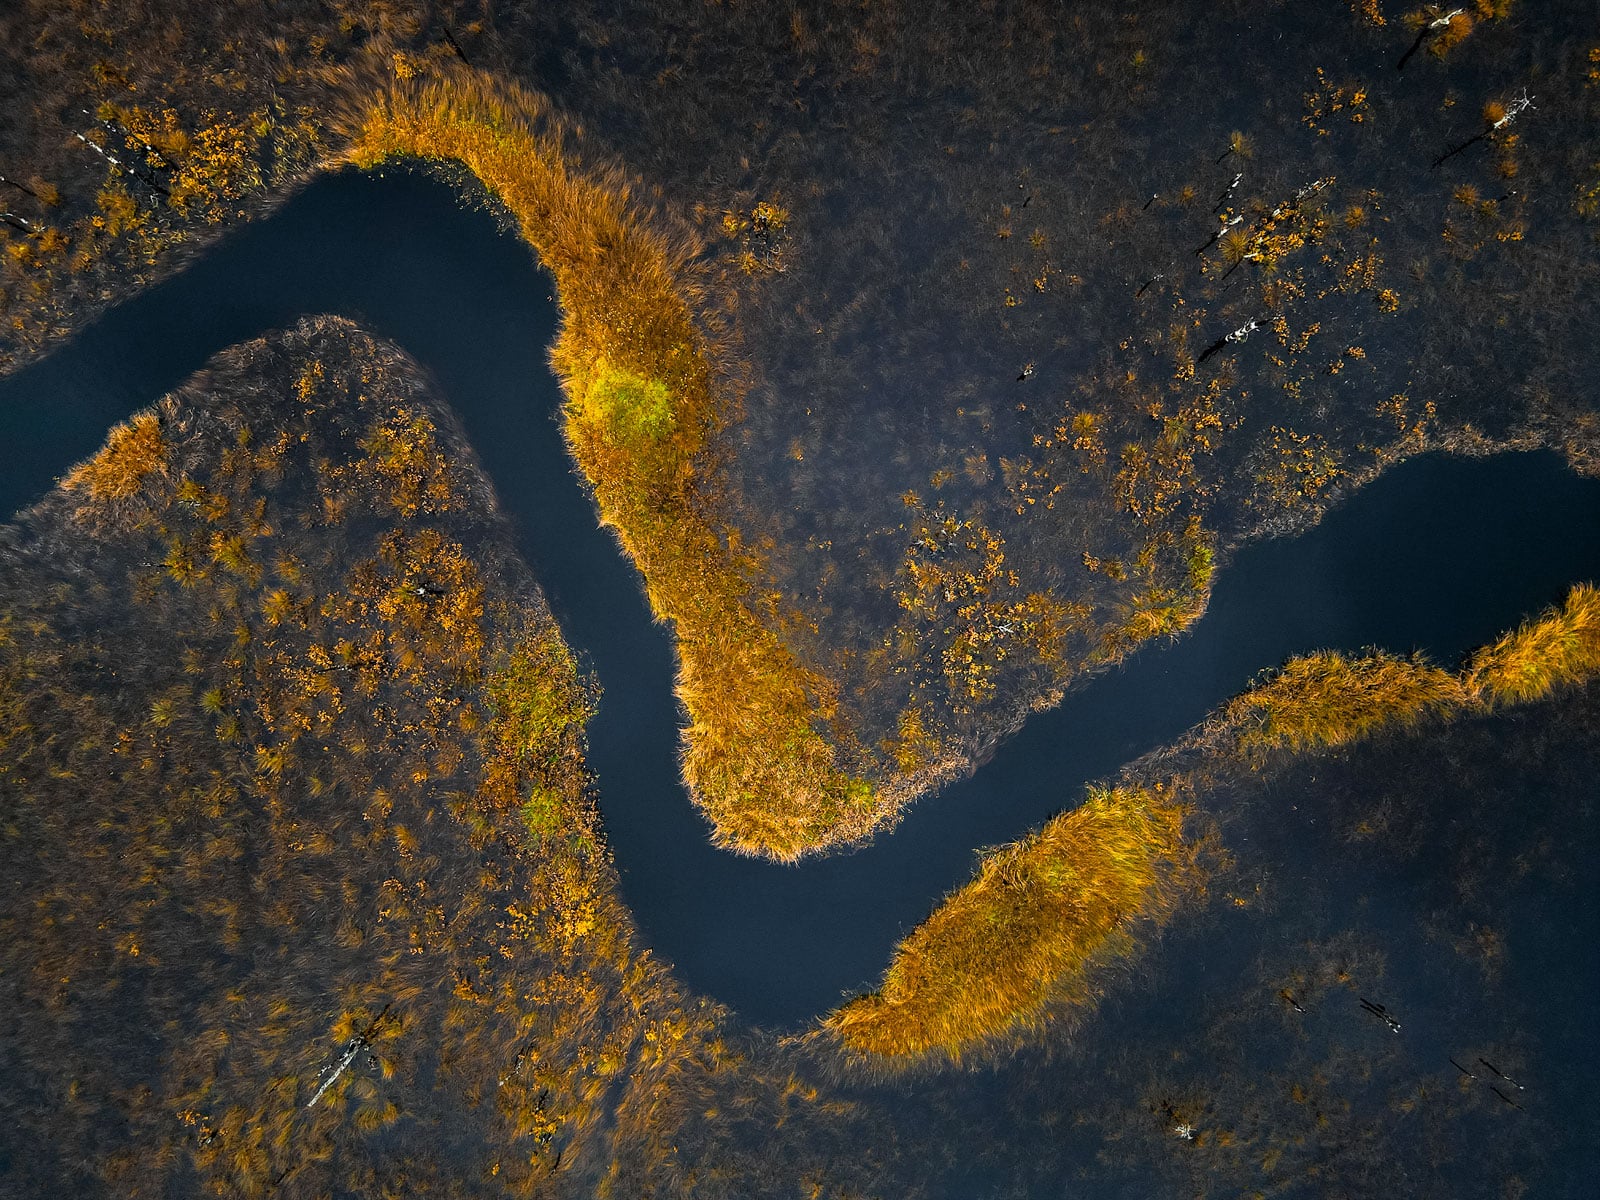
Exposure and contrast first. I wanted the image’s overall look to stay slightly dark. The foliage colors should pop, but the overall brightness can stay on the dark side. That’s why I didn’t try to recover all 2.3 stops. I increased the Exposure to +0.55, then lowered the Highlights, Shadows and Blacks while increasing the Whites. This gives the photo a nice contrast while keeping that dark and mysterious feel.
Adjusting the colors. This is the part I was most worried about. A JPG doesn’t allow big color adjustments, and I often do most of my work in the Color Mixer. I wanted the foliage to be more orange, and I wanted to remove a purple and magenta color cast. To remove the cast, I moved the Purple and Magenta Hue to -100. Then I dropped the Blue Saturation and Luminance to -8 and -36. Finally, I set the Yellow Hue, Saturation and Luminance to -37, +28 and +7. At these values, I don’t see any significant issues.
Sharpening and noise reduction. Normally, I use DxO PureRAW for noise reduction and input sharpening, but that doesn’t work on a JPG. Instead, I used Lightroom’s own tools, which are quite good. With a 12 MP drone JPG, I had to be careful not to overdo anything. For Sharpening, I used Amount 8, Radius 0.5 and Detail 100. For Noise Reduction, I used Luminance 9, Detail 50 and Color 10. This caused a very slight color shift in some areas, but nothing that bothered me.
Finishing touches in Photoshop. Finally, I opened the file in Photoshop. There, I removed some distracting spots with the Spot Healing Brush, did a little dodging and burning, and added some midtone contrast using a luminosity mask.
Recommended Reading: Post-Processing for Landscape Photography: The Complete Guide
Should you upscale a JPG with Super Resolution?
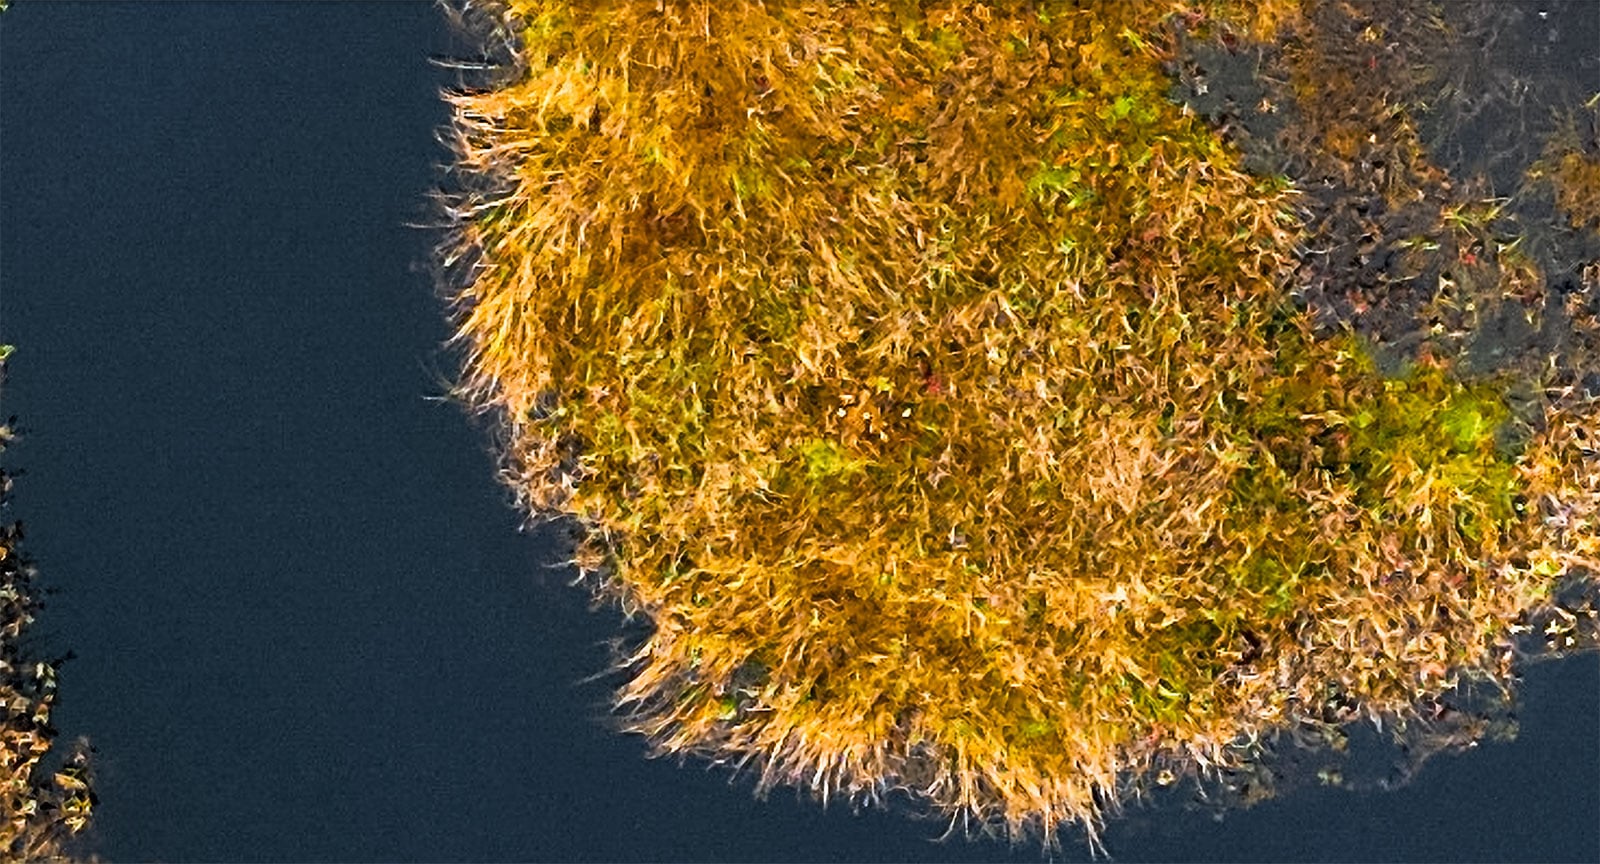
Super Resolution works on JPGs, but on this image it made the file bigger without making it better. According to Adobe, it doubles both the width and the height of the image, which means four times the pixels. My 4032 × 3024 file became 8064 × 6048, or 48 megapixels, saved as a new DNG next to the original. On paper, that’s exactly what you’d want before making a large print.
In practice, the foliage suffered. The fine texture in the grass and shrubs, which is most of this image, came out smoother and muddier, and the colors looked washed out. At 100%, it no longer looked like a photograph of a swamp. It looked like a painting of one, and not a good one.
My best guess is that the source file is the problem. Super Resolution has to guess at the detail between the pixels, and it bases that guess on what’s already in the file. A JPG has been through the camera’s noise reduction, sharpening and compression, and fine, random texture like grass is what that processing smooths away first. With less real texture to work from, the upscaler fills the gaps with something smoother. It doesn’t add any tonal information either, so it couldn’t help with the editing side.
So I’m not using it for the final print.
If you’re working with a JPG, it’s still worth trying. Just judge the result at 100%, on the part of the image with the finest texture, before you send anything to print.
How big can you print a JPG?
On paper, the original 12-megapixel file prints at full quality up to A3. The common rule is 300 pixels per inch (ppi) for prints viewed up close. In practice, 240 ppi is hard to tell apart from 300, and a large print hung on a wall and viewed from a couple of meters away can go well below that.
To find out where this file’s limit was, I made test prints at three sizes. I exported the edited file from Lightroom at the highest quality setting and 300 ppi. To be honest, it used a fairly cheap glossy paper, and a premium matte paper would probably have suited this image better.
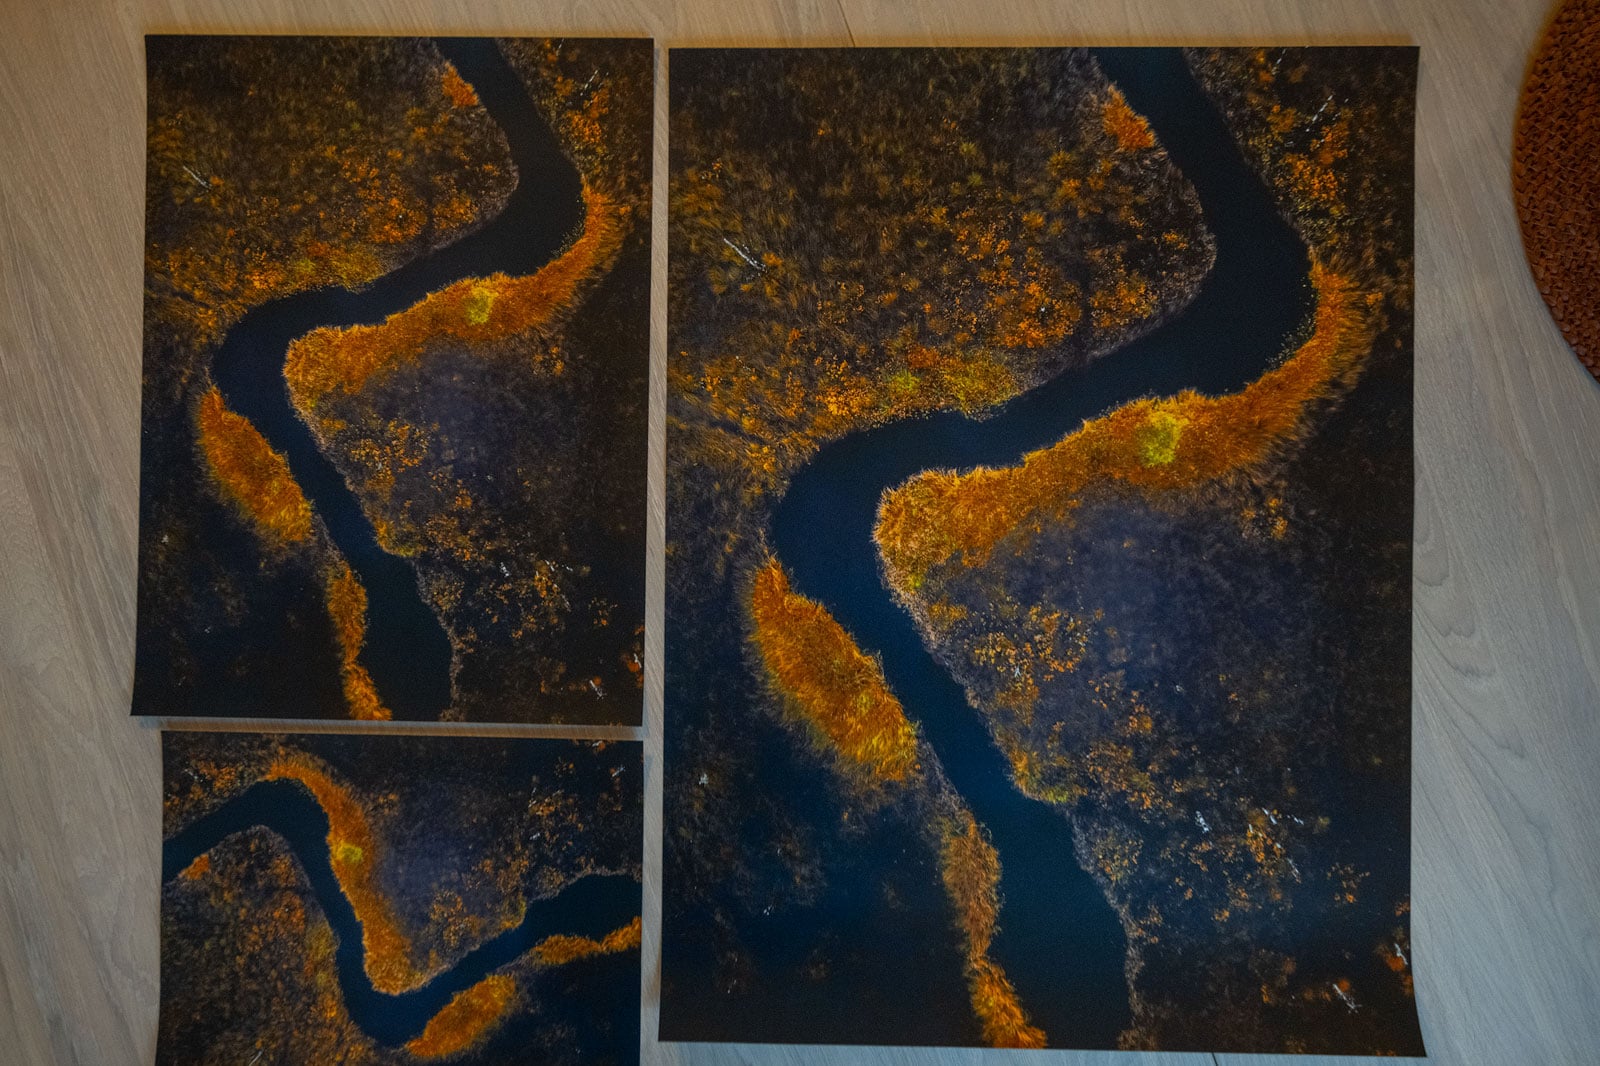
A3 was the clear winner. At that size, the grass texture held up, and the print looked the most like the image I had in mind when editing.
The A4 surprised me a little. With more pixels per inch than A3, you’d expect it to look at least as sharp. My guess is that at that size, the fine texture in the foliage simply becomes too small to read, and the cheap glossy paper doesn’t help.
At 40 × 60 cm, I had pushed it too far. The details became soft and muddy, and the image lost the crispness that makes the foliage interesting. Notice that this happened around 170 ppi, which isn’t a low resolution for a print that size. The limit wasn’t the pixel count. It was the file itself.
That’s an important point. This particular JPG was never going to be the sharpest file. It’s a little soft and a little muddy to begin with, and enlarging it only makes that more visible. I do believe a different JPG could have handled a 50 × 70 cm print. A wider landscape that’s sharper and has more defined shapes would be much more forgiving than fine, dense foliage seen from above.
Recommended Reading: 8 Crucial Steps to Prepare Images for Printing
Conclusion
What I take away from this mishap is that accidentally shooting in JPG isn’t the end of the world. As long as the original image isn’t clipped and doesn’t need major white balance corrections, it’s possible to get a decent result in post-processing.
A JPG can also be printed, up to a certain point, and still look good. I didn’t have the best file for printing to begin with, but a sharper image with more defined detail will be more forgiving. It’s also important to choose the right paper for the image. In my case, a premium matte paper would have given a better result.
That being said, if you want the best results, you need to be shooting in RAW.
FAQ
Yes. Lightroom Classic and Lightroom both open JPGs and give you the same tools as for RAW files. The difference is how far each adjustment can go before the image degrades.
No. You can save a JPG as a DNG, but that only changes the container. The 8-bit data inside stays the same, and none of the information the camera discarded comes back.
About one to two stops before quality drops noticeably, assuming the file was saved at high quality. A RAW file typically handles three or more.
No. PureRAW processes the raw sensor data, which a JPG no longer contains.
Yes. It doubles the width and height of a JPG and saves the result as a DNG. It adds resolution, not tonal information, and on my drone JPG it smoothed away much of the texture in the foliage. Check the result at 100% before you print it.
It depends on the file. My drone JPG printed best at A3 (about 240 ppi), while 40 × 60 cm was too big and turned soft. A sharper file with larger, well-defined shapes can go bigger, and a print seen from a few meters away hides more than one viewed up close.
Yes. Labs print from JPEGs all the time. Export at the highest quality setting and make all your edits before that final export, so the file isn’t recompressed more than once.


Edit With Intent
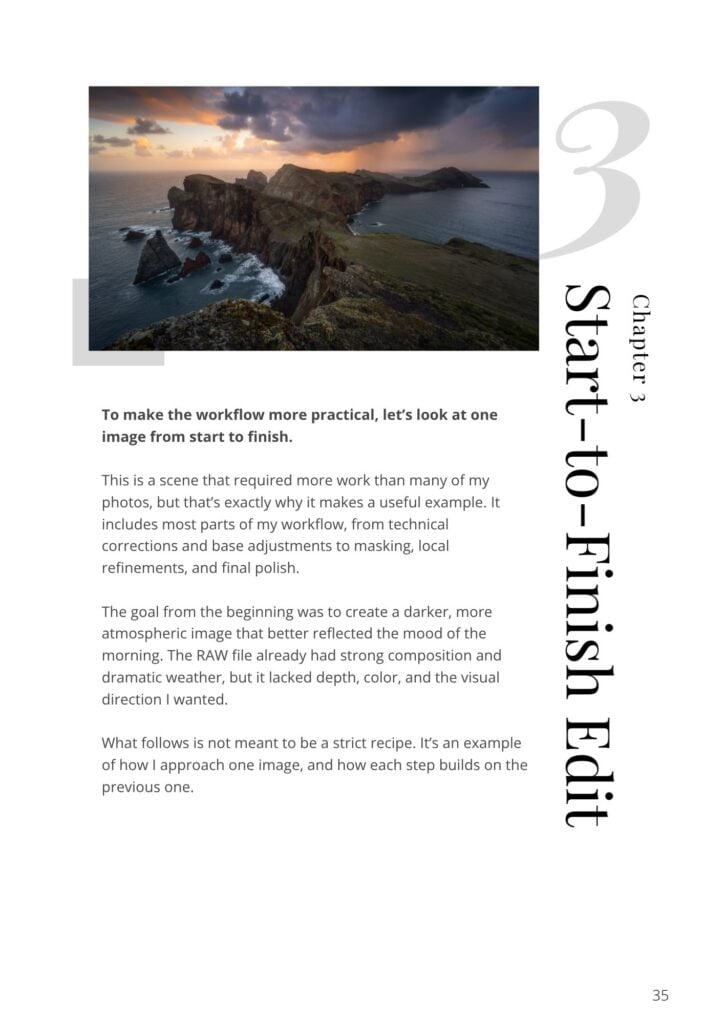
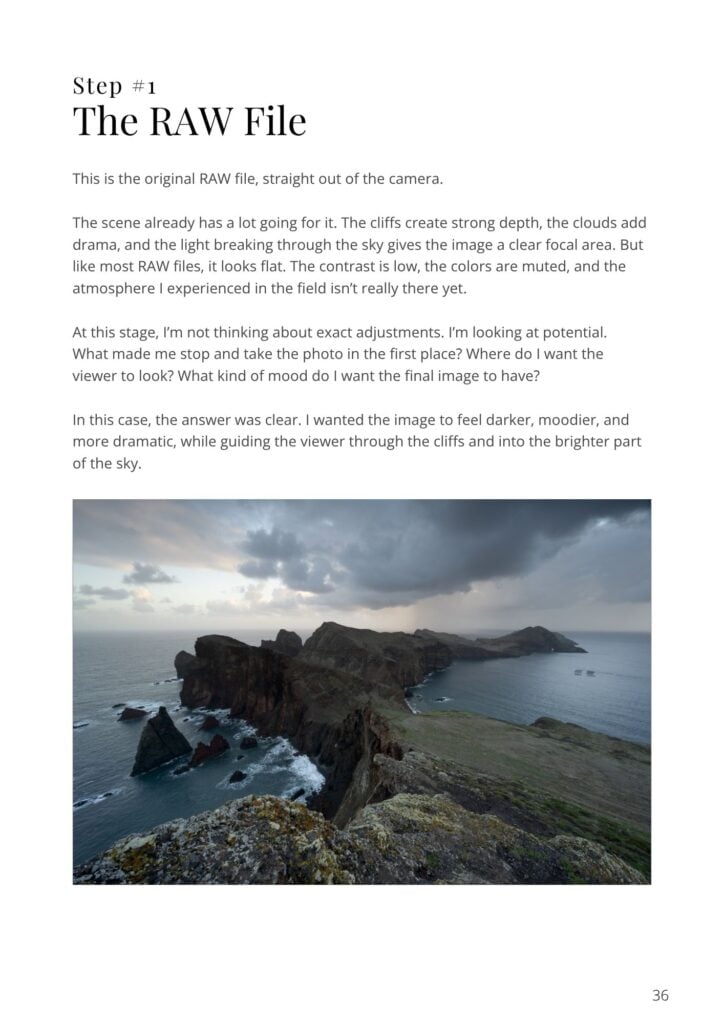
Edit With Intent is a 58-page post-processing guide for landscape photographers. Not a software tutorial but a guide to the decisions behind the edits. How to build a workflow that produces consistent, intentional results. How to know what an image needs before you touch a slider.

Thanks for sharing – it’s good to have this article on my collection should I ever fall into the same position (hopefully not when I’m with you in Finland in January).
Not to self:
Not only check battery, ISO & White Balance at the start of the shoot – make sure you’re shooting Raw!
Honestly speaking, I always shoot taken both Raw and JPEG – it may take up a lot more storage but it’s cheap enough and easy to manage (normally separate folders for each)