


Looking back at my early photography, I cringe a little. Not at the images themselves, but at what I did to them in post. Over-saturated skies, over-sharpened foregrounds, global adjustments applied to everything whether they needed it or not. It felt right at the time but looks clearly wrong in hindsight.
Most beginner post-processing mistakes follow the same patterns. They’re not random errors; they’re predictable, and once you know what to look for, they’re also fixable.
In this article, I’ll walk through the seven mistakes I see most often in beginner landscape photography edits. Whether you’ve been editing for three months or three years, there’s a good chance at least one of these is showing up in your work.
#1 Overdoing Your Adjustments
This is the most common mistake, and it comes in many forms. Too much saturation. Clarity pushed so far it looks like a crunchy drawing painting. Noise reduction applied so heavily that every fine detail disappears. Contrast cranked until the shadows turn to black and the highlights clip.

The reason it happens is understandable. When you’re new to post-processing, you want to make the most of every image. You want to bring out as much color and detail as possible, and the sliders feel powerful. But there’s a difference between enhancing what’s there and replacing it with something artificial.
The test I use is simple: if you can immediately tell that an image has been processed, the adjustments are probably too strong. Good post-processing should make an image feel more like what you saw, not less like it. Colors that look natural but rich. Contrast that adds depth without destroying tonal range. Sharpness that reveals detail rather than creating it from nothing.
A practical habit worth building early: walk away from the screen for some minutes and come back with fresh eyes. Quite often you’ll find that the image looks a little ‘too much’.
Recommended Reading: Post-Processing for Landscape Photography: The Complete Guide
#2 Ignoring Noise Reduction and Sharpening
The flip side of overdoing adjustments is not addressing noise and sharpening at all. This is particularly common with images shot at higher ISOs, where visible grain left untreated can undermine an otherwise strong image.
Good noise reduction is about balance. You want to remove the grain that distracts from the image without removing the fine detail that makes it feel real. Lightroom’s AI Denoise tool does an excellent job of this and is a solid starting point for most images. For more demanding files, particularly RAW files from night photography or high-ISO shooting, DxO PureRAW produces exceptional results and has become my preferred tool for noise reduction before any other editing takes place.


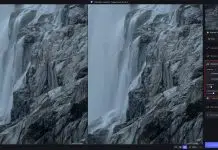
The danger with dedicated AI tools is that the default settings tend to be aggressive. I’ve tested several noise reduction software where the defaults remove so much detail that the image looks soft and unnatural, closer to a digital painting than a photograph. Whether you’re using Lightroom, PureRAW, or a dedicated tool like Topaz Photo, the principle is the same: start with a lighter touch than you think you need and build up from there. Zoom into 100% and check the fine details before you export.
Sharpening follows the same logic. A small amount of well-applied sharpening adds clarity and presence to an image. Too much creates halos along edges, exaggerates noise, and produces that over-processed look that’s hard to come back from. Apply sharpening selectively where the image needs it, and mask it away from smooth areas like sky and water where it causes more harm than good.
Recommended Reading: DxO PureRAW 6 Review: Is It Better Than Lightroom or Topaz? & The Best Web Sharpeners for Photoshop. Goodbye Soft Images!
#3 Editing Without Intent
This is the mistake that’s hardest to see, because it’s not about a specific adjustment. It’s about the absence of a plan.
Editing without intent means opening an image in Lightroom or Photoshop and starting to move sliders without a clear idea of where you’re going. You increase the exposure because the image looks dark. You add saturation because the colors look flat. You add contrast because it seems like it needs something. The result is an image that has been adjusted but not edited; a collection of tweaks that don’t add up to a coherent look.
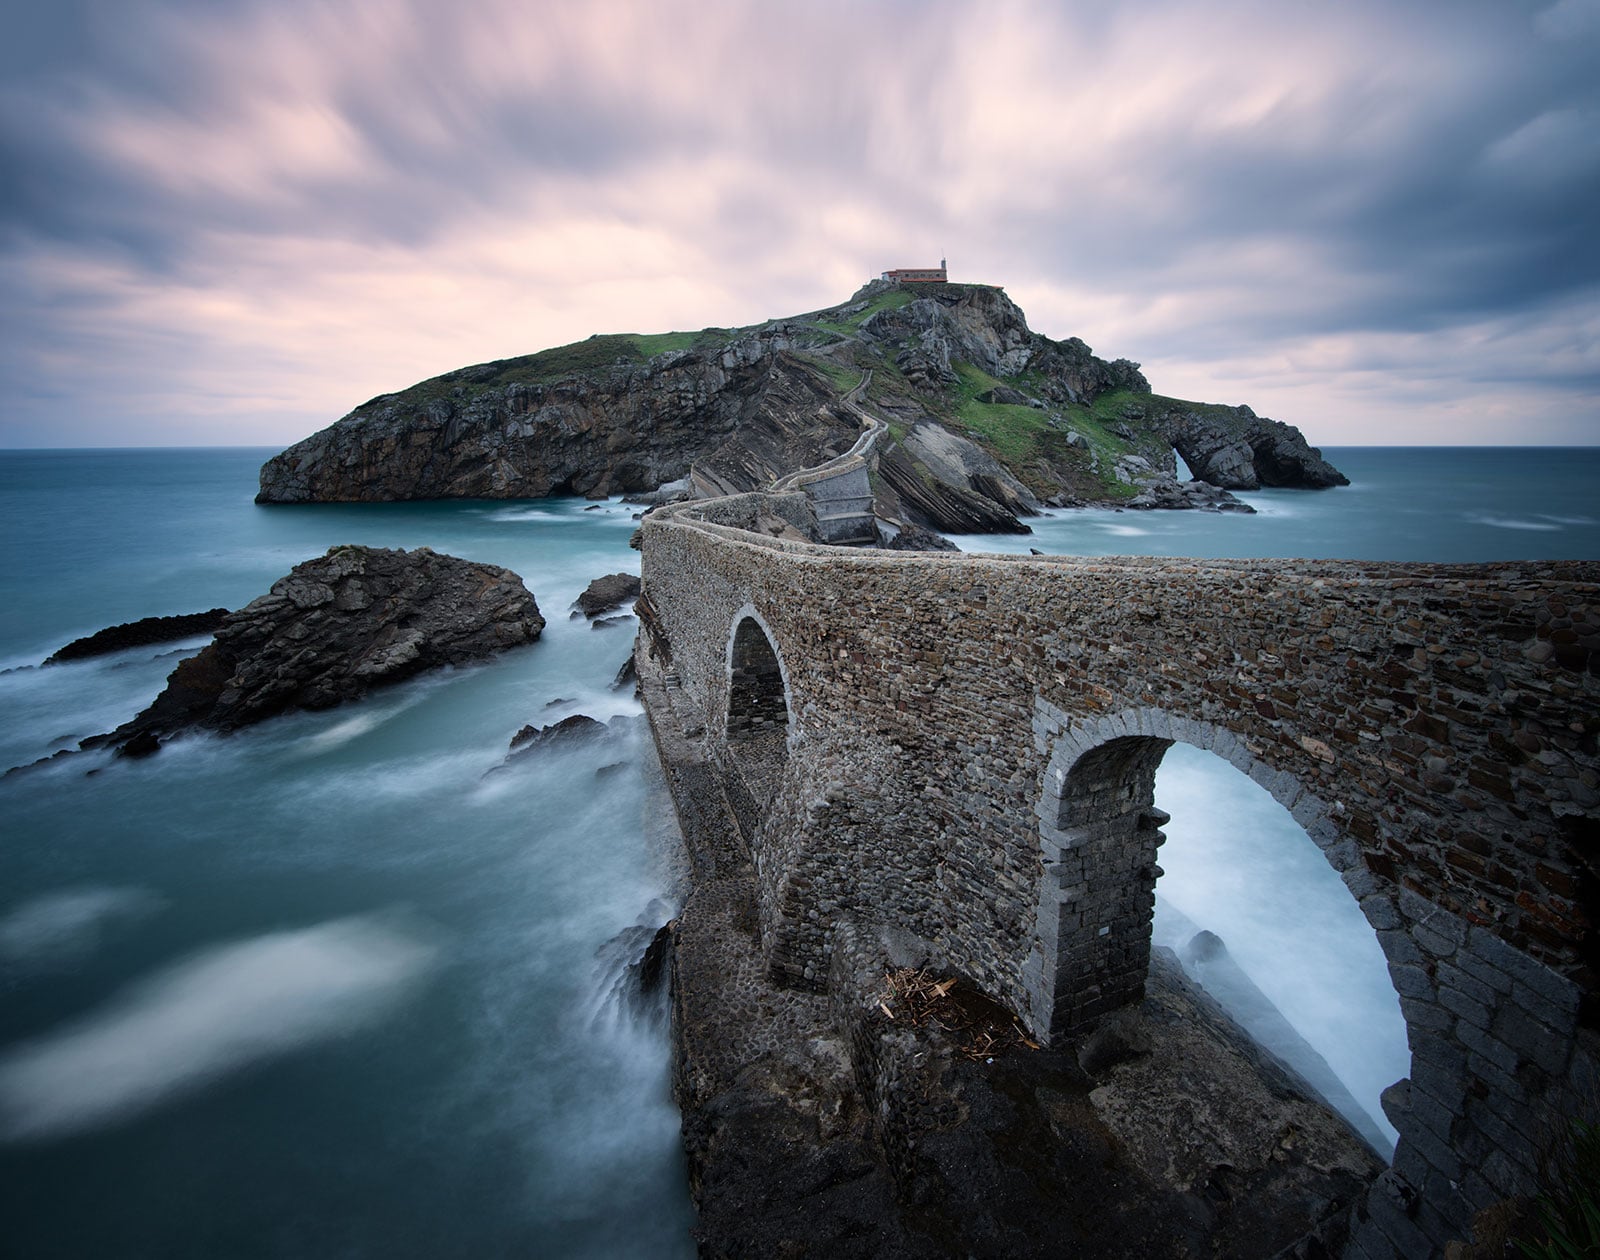
Editing with intent means deciding, before you move a single slider, what you want the image to feel like. Is it warm and golden, or cool and dramatic? Should the mood be calm and quiet, or heavy and atmospheric? Once you have a clear direction, every adjustment you make serves that direction. You’re not reacting to the image; you’re building toward something specific.
This is the core idea behind my post-processing guide, Edit With Intent. It’s not a collection of techniques. It’s a way of thinking about editing that gives every adjustment a purpose and a reason. If you find yourself applying adjustments one after another without knowing why, this is probably the most valuable thing you can work on.
#4 Relying on Presets Without Understanding Them
Presets are genuinely useful. They can give you a starting point, show you what’s possible with a particular set of adjustments, and speed up your workflow considerably. The mistake isn’t using presets. The mistake is applying a preset and stopping there.
A one-click preset is applied globally, without any knowledge of your specific image, your light conditions, or the mood you’re going for. The result might look decent on the preview image the preset was built from. On your image, in your light, with your subject, it may look completely wrong. Colors that don’t match the scene. Contrast that flattens the tonal range. An overall look that has nothing to do with what you actually want.
The right way to use presets is as a starting point, not a finished result. Apply the preset, then go through each adjustment it made and ask whether it’s actually serving this specific image. Reduce what’s too strong. Add what’s missing. Adjust to suit the light you were shooting in.
The Lightroom Toolbox is a set of workflow presets I’ve built specifically for landscape photography. They’re designed to be starting points rather than one-click solutions; each preset gives you a foundation to work from, with the expectation that you’ll adjust it to suit your image. Used that way, presets are a tool for learning as much as a shortcut. You can see how specific adjustments interact with each other and start to understand why certain combinations work.
#5 Applying Only Global Adjustments
If you’ve been editing for a while and your images still feel somehow flat or unbalanced despite technically correct adjustments, this is often why.
Global adjustments affect the entire image equally. When you move the Exposure slider in Lightroom, every part of the image gets brighter, the sky, the shadows, the midtones, the foreground, everything by the same amount. For many images, that’s exactly what you don’t want. The sky might need to come down while the foreground needs to come up. The rocks in the foreground might need more contrast while the smooth water doesn’t.
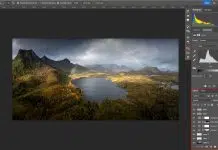
This is where local adjustments come in. Lightroom’s masking tools (Select Sky, Linear Gradient, Luminance Range, and others) give you the ability to apply any adjustment to a specific part of the image without affecting the rest. In Photoshop, Adjustment Layers combined with Layer Masks do the same thing with even more precision.
Learning to work locally rather than globally is one of the biggest leaps you can make in post-processing. It’s the difference between adjusting an image and actually editing it. I cover this in depth in the post-processing guide and it’s a central part of the Edit With Intent workflow.
Recommended Reading: Global vs Local Adjustments in Post-Processing
#6 Buying Too Many Tools Too Soon
This one is a mistake I see constantly, and it’s driven largely by the photography software marketing machine. New tools launch regularly, each promising to transform your images, and it’s easy to convince yourself that the reason your images aren’t where you want them to be is that you don’t have the right software yet.
The truth is that the most important post-processing skills (understanding light and tone, working with color intentionally, making selective adjustments, developing a consistent workflow) are skills you develop by working deeply with one or two tools. They don’t come from owning ten.
If you’re starting out, my recommendation is simple: get DxO PhotoLab or Adobe Lightroom, and learn it properly before investing in anything else. Understand the histogram. Learn how the tone curve works. Build a workflow. Once you’ve reached the limits of what those tools can do for your images, then it’s worth looking at whether something like PureRAW, the Nik Collection, or a dedicated sharpening tool would actually add value for your specific needs.
Every professional landscape photographer I know uses a small, consistent set of tools they know deeply. Not because they can’t afford more, but because depth matters more than breadth when it comes to software.
#7 Forgetting the Cleanup
You’ve spent an hour getting the color, tone, and atmosphere exactly right. The image looks the way you imagined it. And then you export it and notice the dust spot in the middle of the sky, the tourist in the bottom left corner, and the slight lean in the horizon.
Cleanup is easy to overlook when you’re focused on the creative side of editing, but it’s the last thing a viewer should notice, which means it’s also the first thing they will if you miss it.
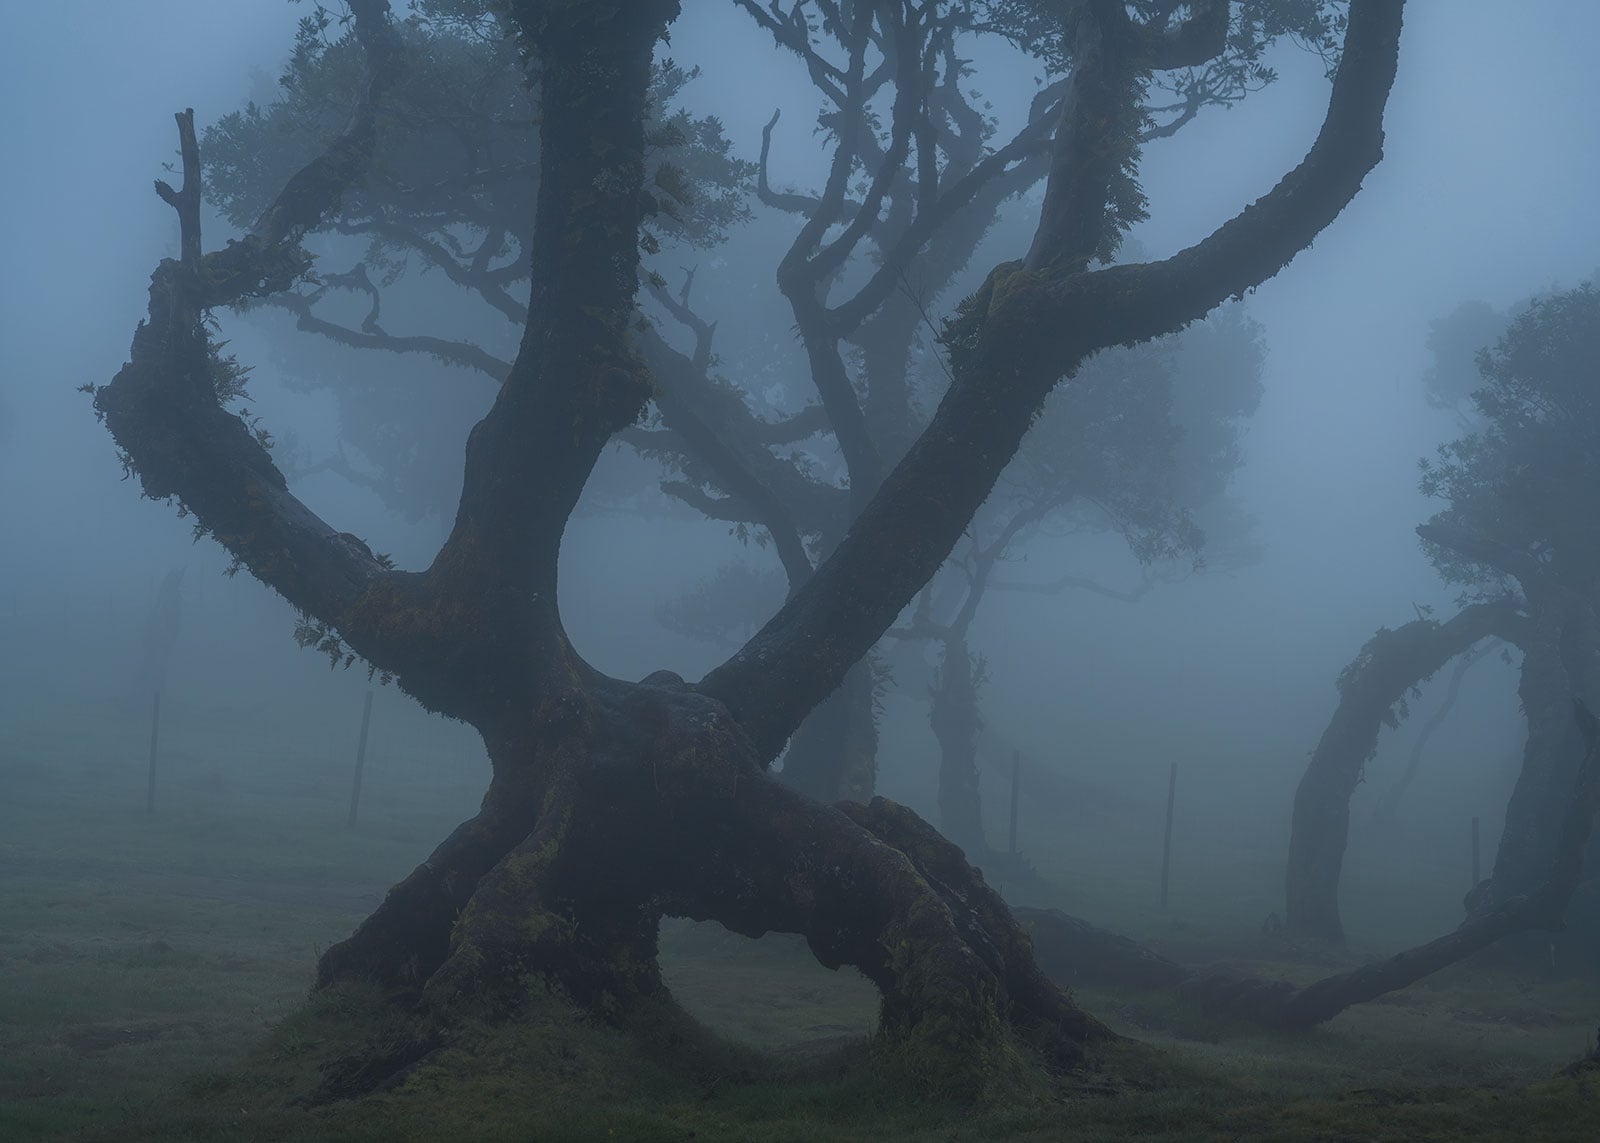
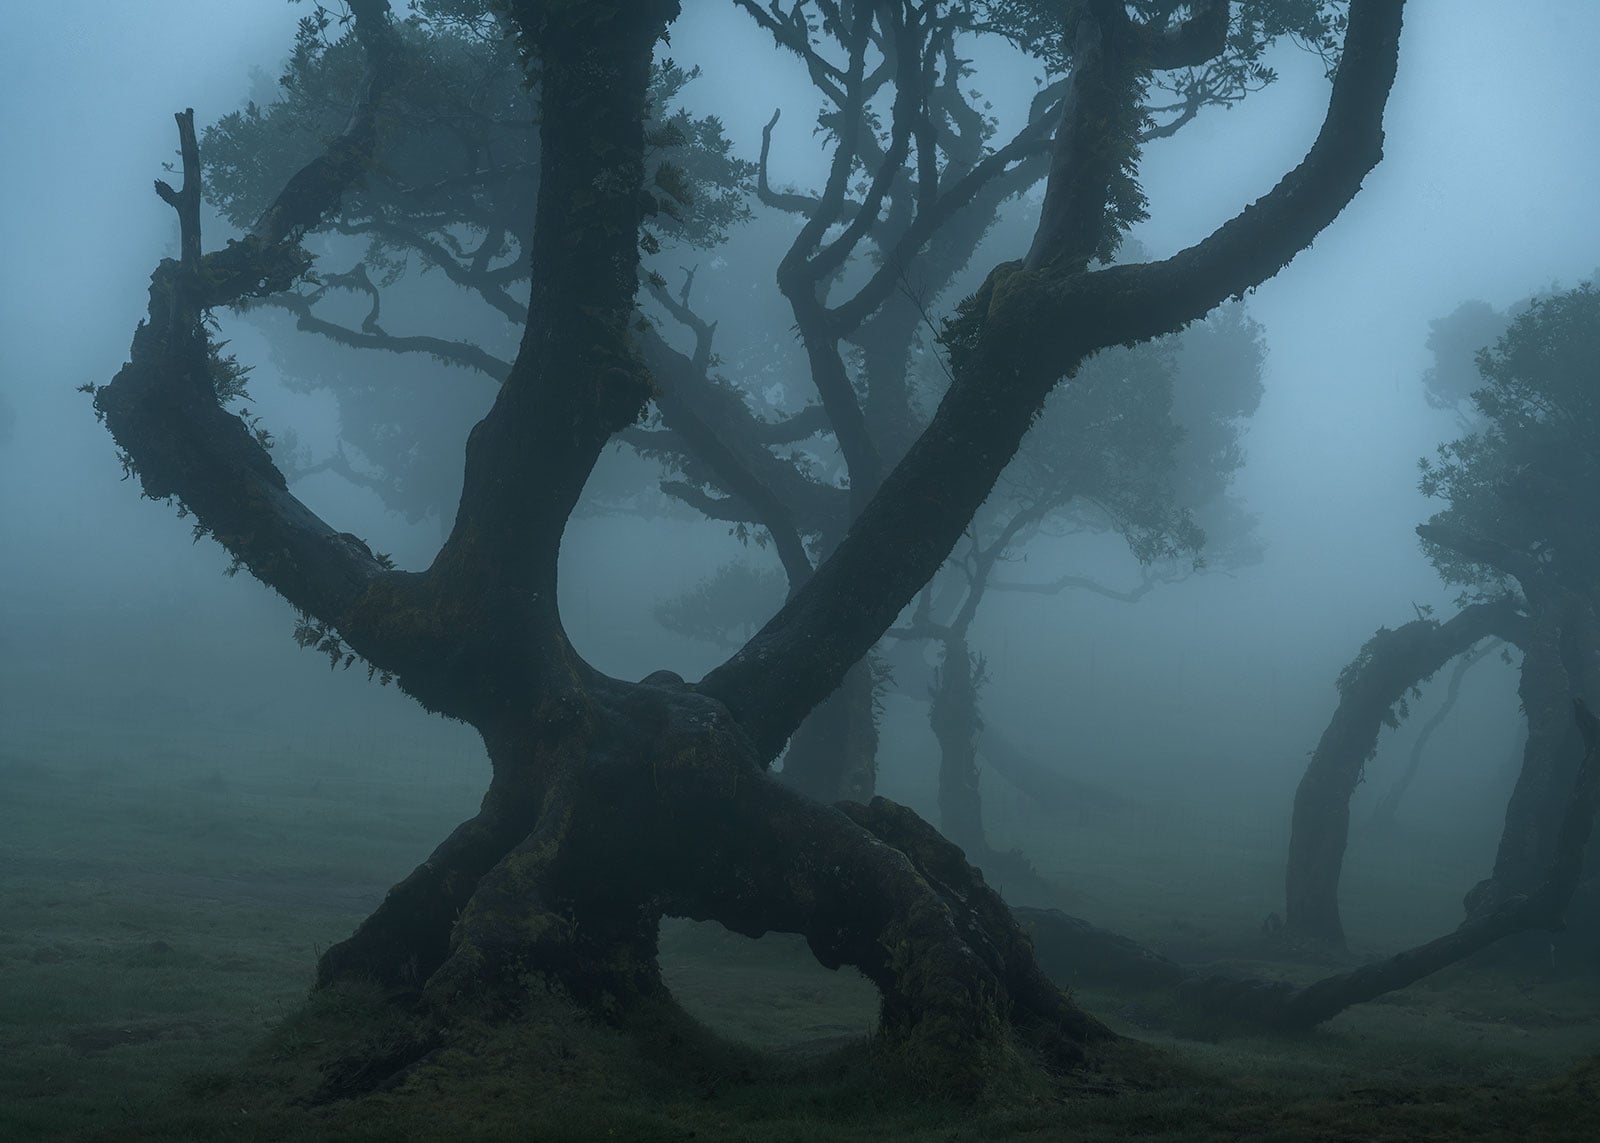
Here’s the checklist I work through at the end of every edit:
Dust spots. Check the sky and any smooth, uniform areas of the image at 100%. Dust on your sensor shows up as soft dark circles, often in the same position across multiple images from the same shoot.
Distracting elements. People, signposts, litter, a single distracting branch, anything that pulls the eye away from the main subject. Lightroom’s remove tools and Photoshop’s spot removal will handle most of these quickly.
Horizon and verticals. A slightly tilted horizon is surprisingly easy to miss while editing and surprisingly obvious once the image is published. Check it carefully, particularly in seascape and open landscape images where the horizon is a strong visual line.
Border control. I check all four corners and edges of the frame for anything that shouldn’t be there. A rock just entering the corner, an unwanted element along the edge, any part of the composition that competes with the main subject without contributing to it. If it’s not adding something, it should go.
Chromatic aberration. The colored fringing that appears along high-contrast edges, particularly in corners. Lightroom’s lens correction panel removes most of it automatically, but complex scenes sometimes need manual correction.
Halos and artifacts. Look carefully at the edges of any masked adjustments, around areas where you’ve dodged or burned, and anywhere you’ve applied heavy sharpening or noise reduction. Poor masking and aggressive processing both leave visible artifacts that are easy to miss at normal zoom but obvious in print or at full resolution.
Conclusion
The good news about beginner post-processing mistakes is that they’re all fixable. Most of them come down to the same underlying issue: making adjustments without a clear plan for where the image is going.
Build a workflow. Develop a sense of when something looks processed rather than real. Learn your tools properly before adding more of them. And before you export anything, slow down and check the image carefully from corner to corner.
Post-processing is a skill, and like any skill it improves with deliberate practice. If you want a structured framework for developing that practice, Edit With Intent covers the complete post-processing philosophy I use for my own landscape work, from the first adjustment through to the finished image.
-

Edit With Intent
$ 27.00 -

The Lightroom Toolbox
$ 59.90 -

Dramatic Landscapes Lightroom Presets
$ 29.90



Thanks for this, Chris. Making a few tweaks to my workflow after sitting with this article. As for “edit with intent,” I made a note to self to use your “before you touch a slider” questions as a thought-starter to pause before I start my edit. I also appreciate the final clean-up checklist. Turning it into a mnemonic device in my head. ABCDE: Artifacts, Border Control, Chromatic Aberration, Dust Spots, and Editing Artifacts. We’ll see if it sticks. 😅